All Categories
Featured
Table of Contents
- – Rv Sofa Beds East Irvine, CA
- – OCRV Center
- – Rv Refrigerator Replacement East Irvine, CA
- – Awning Installation East Irvine, CA
- – Rv Carpet Replacement East Irvine, CA
- – Replacement Rv Refrigerator East Irvine, CA
- – Rv Replacement Awnings East Irvine, CA
- – Rv Carpet Replacement East Irvine, CA
- – Rv Dinette Booth East Irvine, CA
- – Rv Upholstery East Irvine, CA
- – Rv Floor Replacement East Irvine, CA
- – Rv Chairs East Irvine, CA
- – Rv Dinette Table East Irvine, CA
- – OCRV Center
Rv Sofa Beds East Irvine, CA
Put the awning fabric's bead into the network of the awning rail. Gradually glide the textile along the rail, guaranteeing it continues to be straight and even. An aide can help assist the fabric while you manage positioning. Once the material is completely put, safeguard both ends with end caps to avoid shifting.
Evaluate the Tension: Validate that the awning keeps enough stress to prevent sagging. Secure the Awning: Pull back the awning to confirm the roller tube locks firmly into place.
Appropriate maintenance will extend your RV awning's lifespan. Retract the Awning Prior To Taking a trip: Always roll up the awning to protect against wind damage while driving.
Call a pal to aid. Have the close friend hold one end of the track while you place in a screw on your end. Send the pal for more beer while you put in the remainder of the screws.
Rv Refrigerator Replacement East Irvine, CA
Have the good friend hold the arms in area while you measure and note their settings. Pierce, add Dicor tape or putty and install. While the good friend is supporting the roller tube, slide the fabric onto the tube, roll it onto the tube and connect the assistance arms.
While 2 buddies are sustaining the arms, 1 good friend stands on a ladder feeding fabric right into the track while you are on the roofing system (or an additional ladder) pulling the textile. Assuming you don't drop off the ladder, this takes about 5 minutes for an 18' awning.
Roll out the awning and add stress to the torsion springs. While a friend supports the end of the awning, eliminate the awning tube from the end of the tube with the securing mechanism first, add stress (use visegrip pliers) and lock in place.
Awning Installation East Irvine, CA
Go to the other end and include stress and mount it on the assistance arm. The torsion springtimes can hurt actually negative if you don't keep control of the visegrip pliers! CONGRATULATIONS!
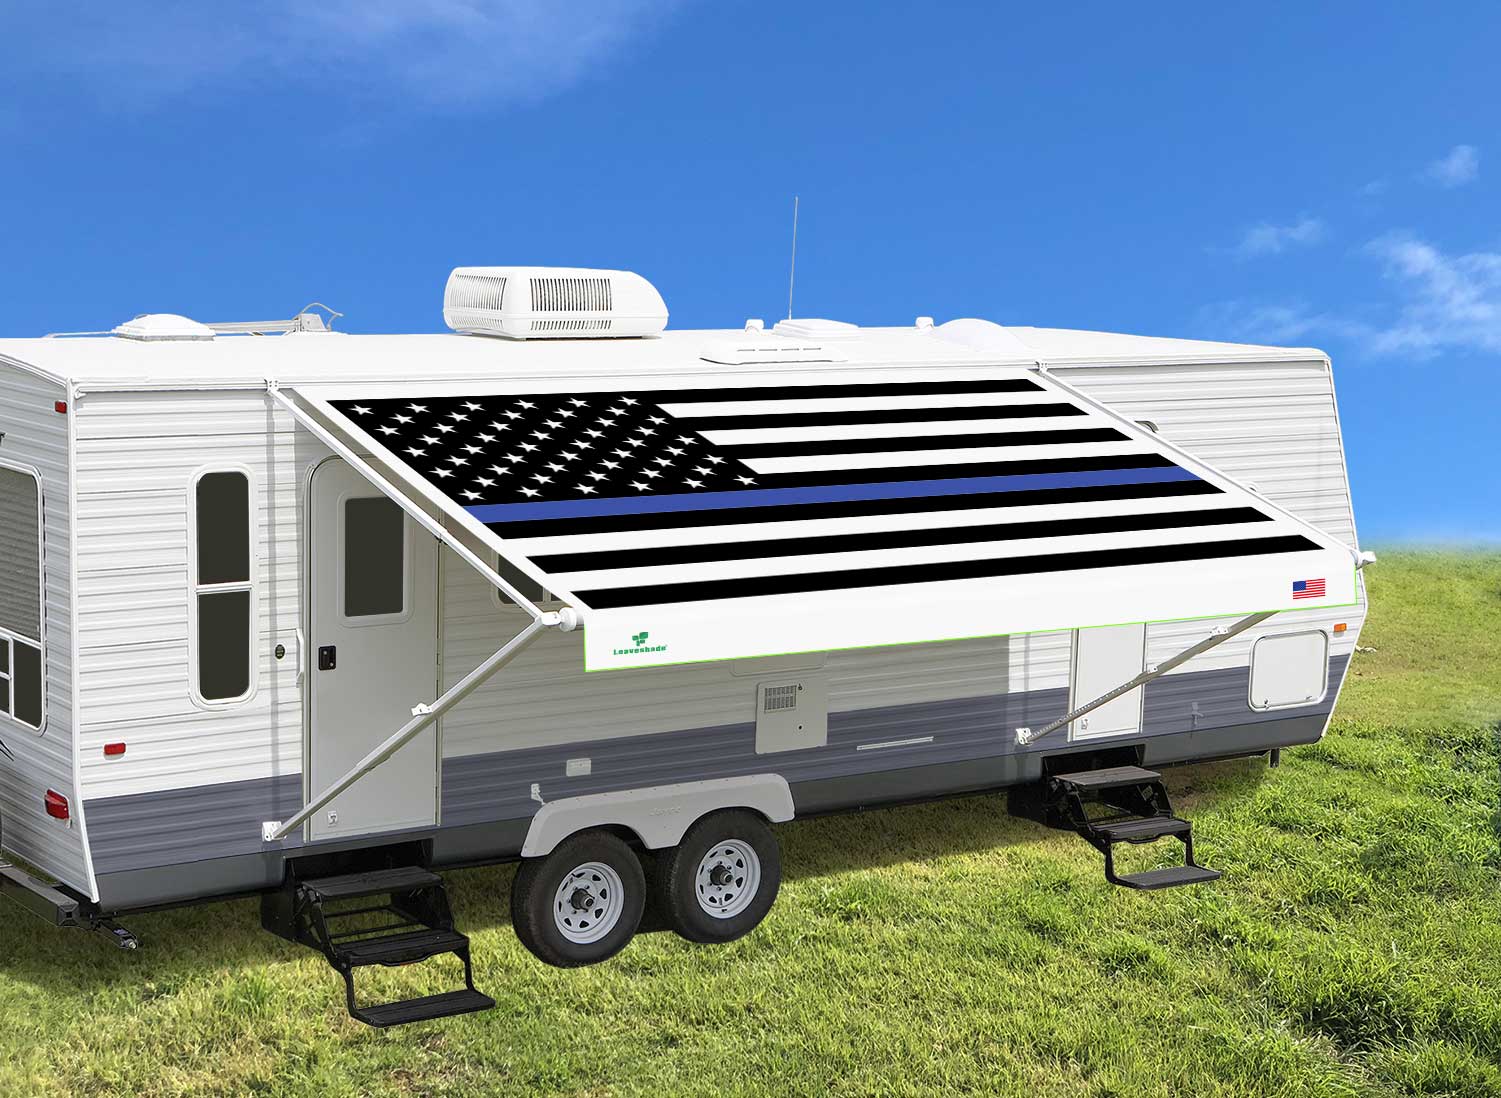
It can be challenging to find shade while making use of a camper. Mounting an awning often tends to be the quickest way to take pleasure in continual security from the sunlight when there is no all-natural shade to be discovered. You can have an awning properly mounted, it is a straightforward adequate job that you could want to think about saving some cash by doing it on your own.
Rv Carpet Replacement East Irvine, CA
Our motor home awning is 11 years of ages now, and the canvas fabric just recently tore on top and base. Recreational vehicle awnings are a discomfort in every respect (other than for the fantastic shade they supply), and we understood we remained in for a challenging DIY repair if we attempted to do it ourselves.
Time for new RV awning textile! We were taking a trip via Rapid City,, and current hail storms had made a mess of numerous Motor homes and Motor home dealerships all around the area.

Only the mechanical aspects of the awning were covered, not the textile. In the long run, the whole recreational vehicle awning fixing job ended up setting you back $444 expense, the majority of that being for the new material, and it took the people at Jack's Campers just 45 mins to do it.
They unrolled the textile concerning a foot and unscrewed the placing brackets that attached the awning arms to the side of the trailer. Remove the awning arms from the sidewalls of the trailer. There was putty in the awning fabric track where the installing brace had been, so this had actually to be gotten rid of with a flathead screwdriver.
Replacement Rv Refrigerator East Irvine, CA
Next, two people moved the awning fabric off of the awning track on the recreational vehicle wall and marched the whole thing right into the workshop and rested it on some saw steeds. 2 technicians strolled the awning out of the track on the trailer. Once in the store the awning was laid throughout some saw horses.
The screw holding the awning arm to the roller at the non-locking end was gotten rid of and the arm was drawn off. Remove the awning arm from the non-locking end of the roller.
Rv Replacement Awnings East Irvine, CA
Splashing it with silicone spray will certainly help the awning roll more conveniently. The awning material was glided off of the roller.
The brand-new awning textile will be glided into the track on the roller. The new awning fabric was started in the track on the roller.
Then the was positioned inside the roller and new endcap rivets were set up. The endcap and springtime were reinserted inside the roller. Put new rivets on the endcap. New rivet in position. The fabric was placed so it copulated to the locking end of the awning. At the opposite end an established screw was screwed in to protect against the material from gliding off the track.
Put an established screw at the non-locking end of the material so it does not slide off the track. The brand-new textile was laid out so maybe rolled onto the roller. Then a vice grasp was made use of to transform the springtime in between 15 and 18 times to get the appropriate springtime tension.
Rv Carpet Replacement East Irvine, CA
Use vice grasps to rotate the springtime 15 to 18 times to ge the best springtime stress. The awning arm was reattached to the roller with a screw. Bolt on the awning arm. Awning arm (non-locking end) is reattached. Back at the trailer, the awning track was splashed with sturdy silicone (East Irvine Awning Installation).
Then the new awning textile was freely covered around the roller and the whole thing was marched outside to the trailer. 4 people helped in covering the brand-new awning textile around the roller a couple of times. The awning is gotten to the trailer. Our little task supervisor,, had actually been watching all the goings on through open big store door from a secure distance out by the trailer.

This is where having lots of hands can help. The awning material is slid along the track on the side of the trailer. After mounting the awning on the trailer, the auto mechanics noticed that the 2 feet that held all-time lows of the two awning arms had actually each created hairline fractures.
The feet of both awning arms had actually established little cracks, so they were changed. The last action was to evaluate the awning by rolling everything the method out and afterwards all the way in once again. Check the awning to see to it it rolls all the method out and all the means in again.
Rv Dinette Booth East Irvine, CA
The entire task took 45 mins throughout. Currently that we have actually seen exactly how a hand-operated recreational vehicle awning gets mounted, Mark is positive he could do it without mosting likely to a RV fixing store as long as he had some added hands for gliding the awning material on/off the trailer awning track and on/off the roller track.
New to this website? Visit to locate where we maintain all the great things. Likewise look into our to see it!.
No requirement for a postgraduate degree in design; we're below to simplify right into very easy actions to level up your traveling video game. Outfit yourself with a reliable drill, a sturdy ladder, determining tape, a collection of wrenches, and a level. Selecting the right place for your awning belongs to finding the ideal camping website an art that mixes functionality with a touch of skill.
Stay clear of windy or stormy days, as these climate condition can complicate the process and potentially cause installation obstacles. Choose for a calm day with clear skies, permitting you to concentrate on the task available without battling the aspects. The manual provided with your recreational vehicle awning kit is a bonanza of info.
Rv Upholstery East Irvine, CA
Prior to hitting the trail, put in the time to evaluate your newly mounted awning. Roll it in and out a couple of times to guarantee smooth procedure. This final high quality check ensures that the awning functions flawlessly, offering you with the confidence that your installation initiatives have actually caused a dependable and easy to use enhancement to your motor home.
If your awning is harmed, or otherwise functioning correctly, or all of the above, installing a new awning is a straightforward process. Lippert has great deals of awning and awning accessory choices you can choose from. The new power awning, with its Smart Arms, is remarkable, and the Super Shade Front Panel is an actually wonderful enhancement.
Rv Floor Replacement East Irvine, CA
This additionally assists protect against unintended damage when extending or withdrawing the awning. Slide-out awnings, likewise referred to as slide-out mattress toppers or slide-topper awnings, vary a little from your typical camping trailer awning. A slide-out awning does not give shade like a normal RV awning or extend when the slide-out isn't expanded. Slide-out mattress toppers are created to cover the top of a motor home slide-out and keep out any type of water, dirt, or various other components that might enter the slide from above.
It additionally suggests RV proprietors won't need to climb to the top of their slide-out and tidy it prior to setting camp. Currently that you recognize the fundamental differences between various awning kinds, just how do you pick the right one for your Motor home camper trailer? Below are a few things to consider.
Rv Chairs East Irvine, CA
Comfy exterior living can be a challenge, even in a recreational vehicle. However that does not suggest you can't make your following camping trip much better. RecPro is right here to aid you with all your awning needs, whether you need replacement components and accessories for an existing awning or a complete set. Capitalize on our cost-free delivery, exceptional customer service, and wide choice of motor home awnings today! Motor home awnings are a crucial enhancement to any type of entertainment car, giving color, shelter, and added living area while when traveling Awnings are fantastic for broadening your camper's comfortable room by expanding sunlight and rainfall insurance coverage to the location right outside your rig RV camping in the summertime is a blast, but do you ever before find yourself obtaining depressed by the warm.
Stay clear of gusty or wet days, as these climate condition can complicate the process and possibly result in installation challenges. Go with a calm day with clear skies, allowing you to concentrate on the job at hand without battling the elements. The hand-operated supplied with your motor home awning set is a gold mine of information.
Before striking the road, put in the time to examine your newly set up awning. Roll it in and out a couple of times to ensure smooth operation. This last quality check ensures that the awning functions faultlessly, providing you with the self-confidence that your installment efforts have led to a reliable and straightforward addition to your motor home.
Rv Dinette Table East Irvine, CA
If your awning is damaged, or not working appropriately, or all of the above, setting up a new awning is a straightforward procedure. The new power awning, with its Smart Arms, is amazing, and the Super Shade Front Panel is a truly wonderful addition.
This likewise aids prevent unintended damages when expanding or retracting the awning. Slide-out awnings, likewise referred to as slide-out mattress toppers or slide-topper awnings, differ a little from your typical outdoor camping trailer awning. A slide-out awning does not provide color like a normal motor home awning or extend when the slide-out isn't expanded. Slide-out mattress toppers are made to cover the top of a motor home slide-out and stay out any water, dirt, or other components that can enter into the slide from above.
It also indicates motor home owners will not need to reach the top of their slide-out and tidy it prior to setting camp. Currently that you understand the fundamental distinctions in between different awning types, how do you select the right one for your Recreational vehicle camper trailer? Right here are a couple of points to think about.
RecPro is here to assist you with all your awning needs, whether you require replacement parts and accessories for an existing awning or a complete package. Motor home awnings are a vital addition to any kind of entertainment automobile, supplying color, sanctuary, and added living space while on the road Awnings are wonderful for broadening your camper's livable room by extending sunlight and rainfall protection to the area right outside your rig Recreational vehicle outdoor camping in the summertime is a blast, however do you ever find yourself obtaining defeated down by the heat.
Rv Floor Replacement East Irvine, CARv Sofa Beds East Irvine, CA
Motorhome Carpets East Irvine, CA
Rv Refrigerator Replacement East Irvine, CA
Rv Restoration Companies East Irvine, CA
Rv Microwave Replacement East Irvine, CA
Rv Carpet Installation East Irvine, CA
Rv Replacement Furniture East Irvine, CA
Rv Carpet Installation East Irvine, CA
Rv Replacement Furniture East Irvine, CA
Rv Carpet Installation East Irvine, CA
Remodeling Rv East Irvine, CA
Rv Carpet Installation East Irvine, CA
Remodeling Rv East Irvine, CA
Rv Couch East Irvine, CA
Rv Replacement Awnings East Irvine, CA
Rv Carpet Replacement East Irvine, CA
Rv Refrigerator Replacement East Irvine, CA
Rv Restoration Companies East Irvine, CA
Rv Interior Remodel East Irvine, CA
Rv Restoration Companies East Irvine, CA
Replacement Rv Refrigerator East Irvine, CA
Rv Sofas East Irvine, CA
Rv Replacement Furniture East Irvine, CA
Rv Interior Furniture East Irvine, CA
Rv Dinette Table East Irvine, CA
Rv Restoration Companies East Irvine, CA
Rv Couch Bed East Irvine, CA
Rv Chairs East Irvine, CA
Awnings For Rv East Irvine, CA
Rv Restoration Companies East Irvine, CA
Awnings For Trailers East Irvine, CA
Rv Interior Remodel East Irvine, CA
Rv Sofa Sleeper East Irvine, CA
Rv Interior Remodel East Irvine, CA
Rv Sofas East Irvine, CA
Rv Carpet Installation East Irvine, CA
Rv Replacement Furniture East Irvine, CA
Rv Carpet Replacement East Irvine, CA
Rv Sofa Beds East Irvine, CA
Rv Couch Bed East Irvine, CA
Rv Dinette Table East Irvine, CA
Rv Replacement Furniture East Irvine, CA
Remodeling Rv East Irvine, CA
Awnings For Rv East Irvine, CA
Rv Floor Replacement East Irvine, CA
Rv Replacement Furniture East Irvine, CA
Replace Rv Flooring East Irvine, CA
Rv Sofa Sleeper East Irvine, CA
Rv Couch Bed East Irvine, CA
Replace Rv Flooring East Irvine, CA
Rv Dinette Booth East Irvine, CA
Rv Dinette Table East Irvine, CA
Rv Floor Replacement East Irvine, CA
Rv Dining Table East Irvine, CA
Rv Refrigerator Replacement East Irvine, CA
Rv Microwave Replacement East Irvine, CA
Rv Restoration Companies East Irvine, CA
Rv Floor Replacement East Irvine, CA
Rv Dinette Table East Irvine, CA
Rv Couch East Irvine, CA
Rv Dinette Booth East Irvine, CA
Rv Chairs East Irvine, CA
Rv Replacement Furniture East Irvine, CA
Rv Floor Replacement East Irvine, CA
Motorhome Carpets East Irvine, CA
Rv Restoration Companies East Irvine, CA
Remodeling Rv East Irvine, CA
Rv Chairs East Irvine, CA
Rv Interior Furniture East Irvine, CA
Awning Installation East Irvine, CA
Rv Floor Replacement East Irvine, CA
Awnings For Rv East Irvine, CA
Awnings For Trailers East Irvine, CA
Rv Couch Bed East Irvine, CA
Rv Dinette Table East Irvine, CA
Rv Replacement Awnings East Irvine, CA
Rv Interior Remodel East Irvine, CA
Close To Seo Company East Irvine, CA
Near You Seo Marketing Company East Irvine, CA
OCRV Center
Table of Contents
- – Rv Sofa Beds East Irvine, CA
- – OCRV Center
- – Rv Refrigerator Replacement East Irvine, CA
- – Awning Installation East Irvine, CA
- – Rv Carpet Replacement East Irvine, CA
- – Replacement Rv Refrigerator East Irvine, CA
- – Rv Replacement Awnings East Irvine, CA
- – Rv Carpet Replacement East Irvine, CA
- – Rv Dinette Booth East Irvine, CA
- – Rv Upholstery East Irvine, CA
- – Rv Floor Replacement East Irvine, CA
- – Rv Chairs East Irvine, CA
- – Rv Dinette Table East Irvine, CA
- – OCRV Center
Latest Posts
Employee Benefits Consulting Firms Aliso Viejo
Villa Park Employee Benefits Solutions
Burbank Kitchen Hood Repair Service
More
Latest Posts
Employee Benefits Consulting Firms Aliso Viejo
Villa Park Employee Benefits Solutions
Burbank Kitchen Hood Repair Service